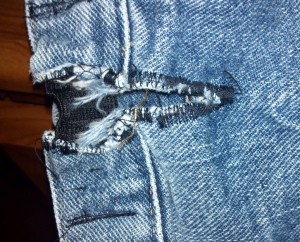
Version 1 – Add Elastic Tabs to Traditional Jeans
This alteration allows the jeans to be put on without unbuttoning, yet the waistband still stays snug. It’s not the most attractive alteration, but if shirts are not tucked in, no one will notice.
Purchase jeans so they barely fit or are a little snug because the elastic can make them about an inch bigger in the waist. You will need two pieces of non-roll elastic that are 3 inches long each. Try to match color of elastic to color of jeans or find a darker color if you want this to blend in. You will slit the waistband in two places, both on the front of the jeans, about an inch from the side seam. Cut through the jeans and make cut extend approximately 1 inch below the waistband. Serge the edges of the cut to keep them from fraying.
Insert and pin the elastic horizontally inside the waistband, centering the middle of the elastic with the middle of the slit. Sew the ends of the elastic to the jeans. Remove pins. Thanks to Lori Hendrickson for sharing this idea.
Version 2 – Convert Traditional Jeans into Elastic Waist Jeans
This version converts the entire waistband of traditional jeans into an elastic waistband.
Take a pair of regular jeans and slit the inside waist band vertically, (with a sharp seam ripper) on both sides of waistband, as close to the button and button hole as possible. Be careful not to go through to the outer side of the waistband. Now take a very large safety pin and some wide (5/8″) non-roll elastic. Hook the safety pin into one side of the elastic that is cut longer than needed for natural waist size and thread it through the opening of one side, gathering all the way over to the other side. When you get to the other side fasten both ends of the elastic down with safety pins to hold in place on each side. Now try the jeans on your child and adjust the size and gathers to fit comfortable allowing them to take a test run of pulling them up and down. Once the correct adjustment is made, stitch down each end. You can either leave the button in place as is, and or you can stitch the area down where the opening for the button/zipper is to keep it from accidentally opening up. I have done this to many “in-style” jeans for my son who has challenges with both hands. What we have found is we have to go up a couple sizes up to allow the little extra amount around the waist for the elastic band to work. But the jeans do not look over-sized.


